Core concepts
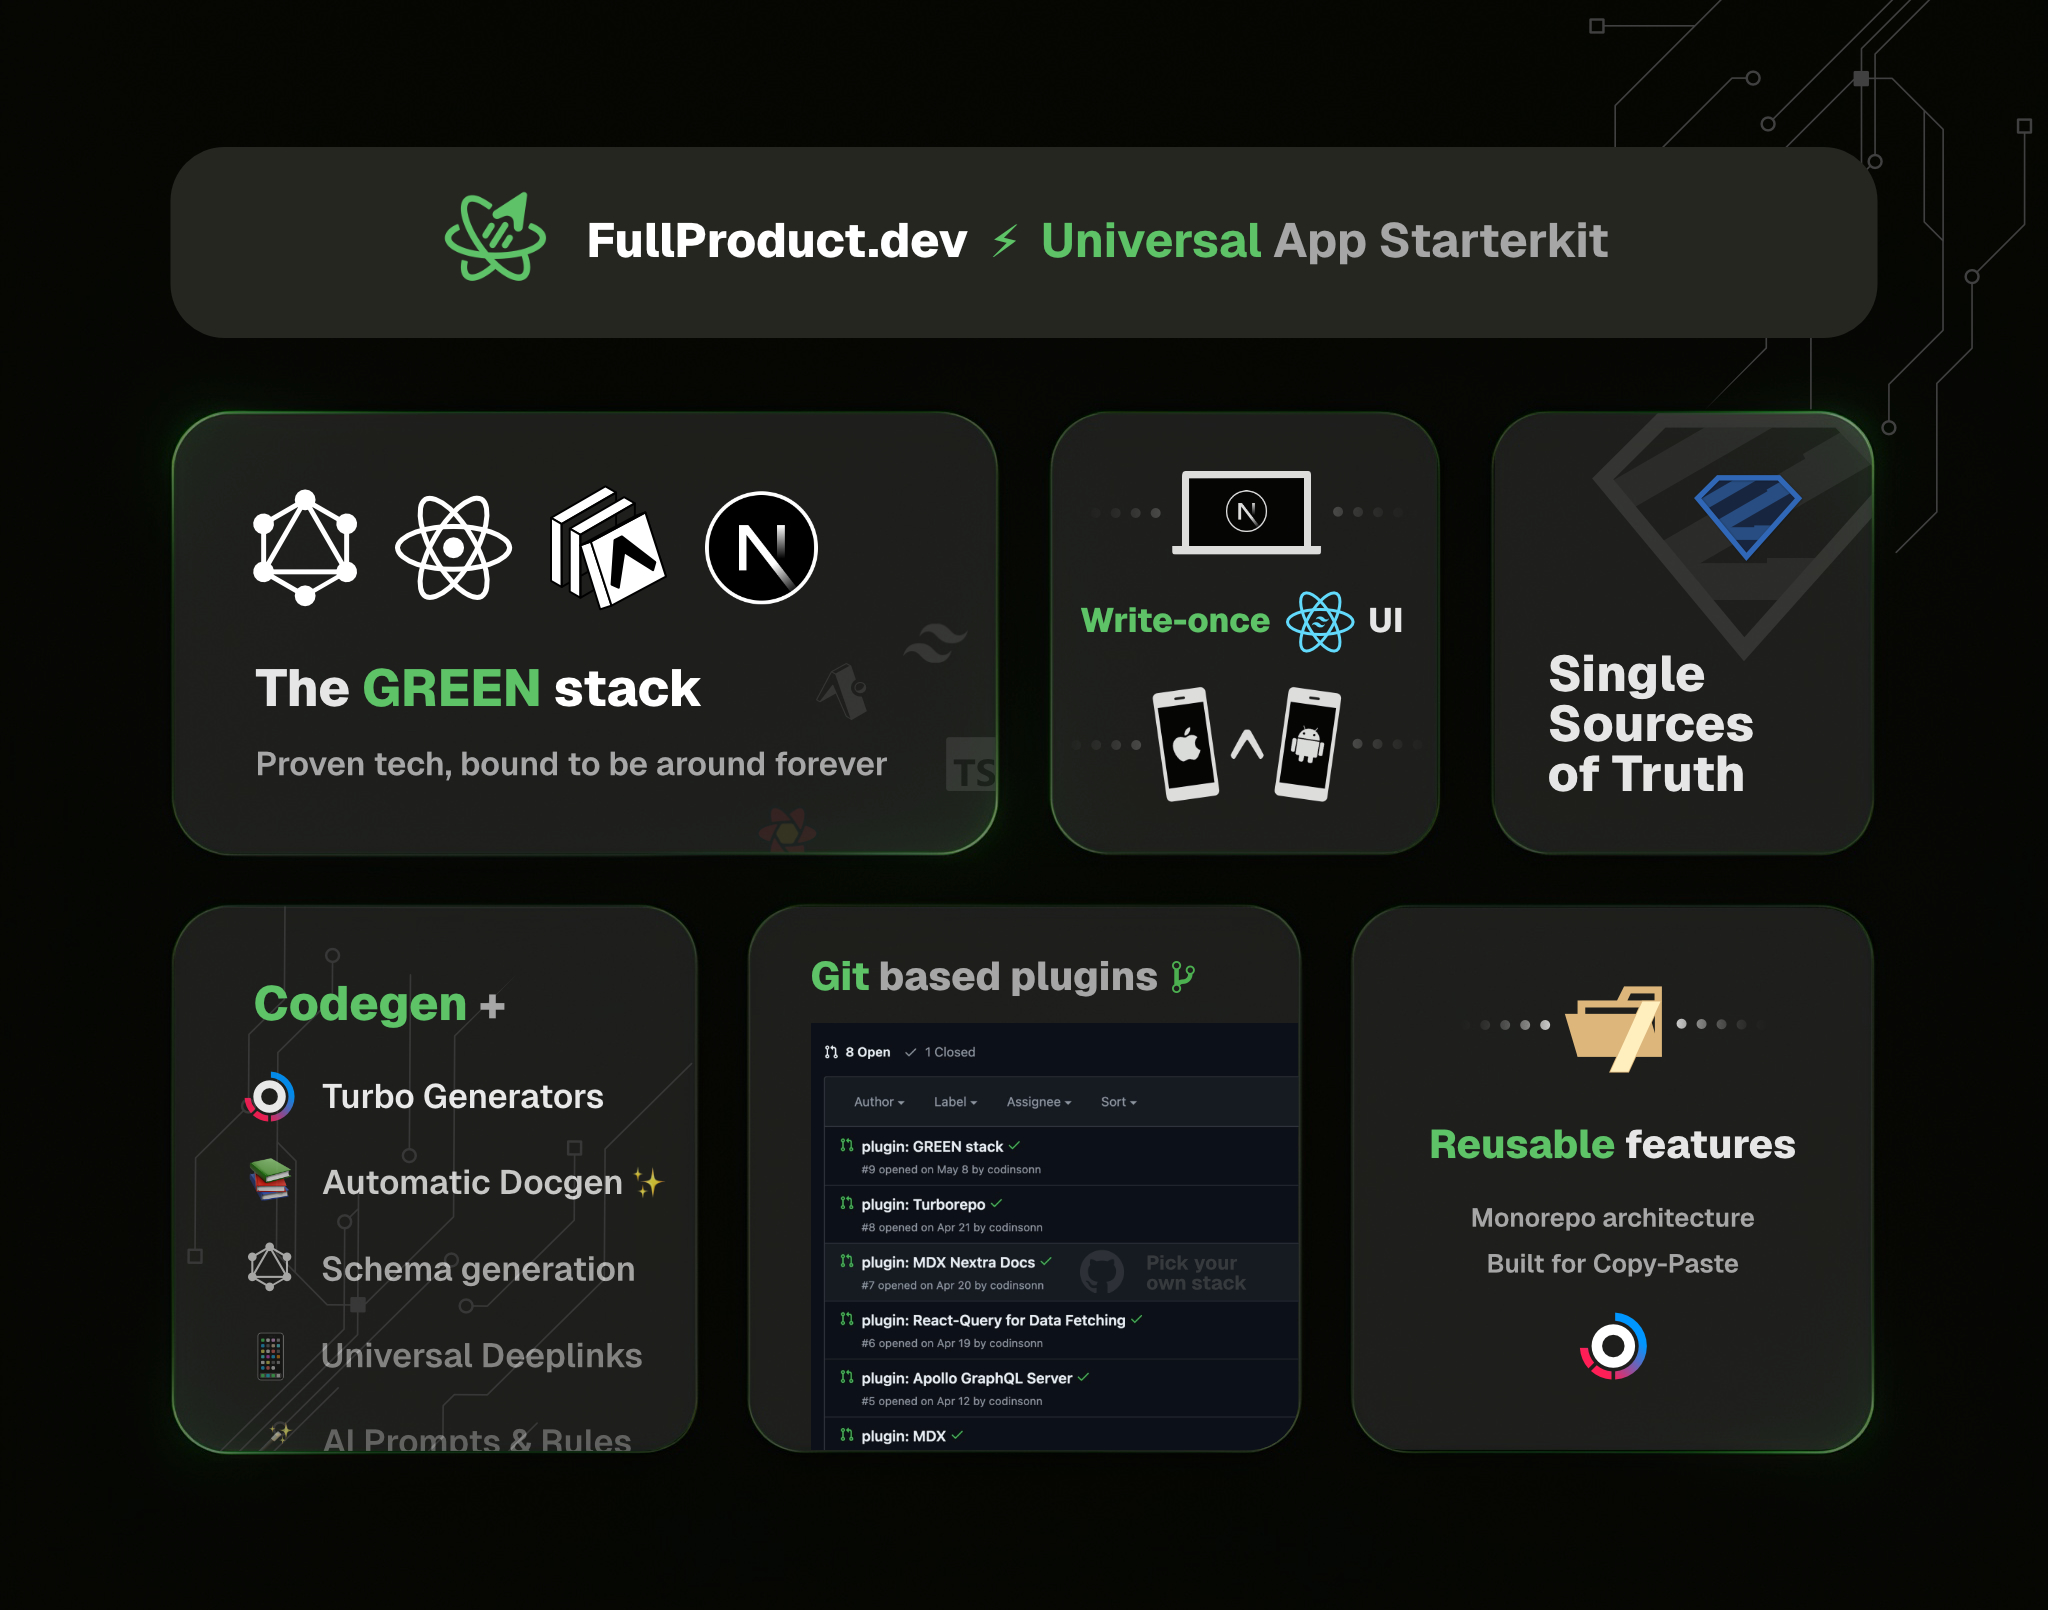
Unlike most boilerplates, this starterkit is not just a collection of tools and libraries. It’s a way of working that’s been designed to be both scalable and portable from the start.
This document will cover the core concepts that make this starterkit unique:
- Universal, from the start
- Evergreen with the GREEN stack
- Single Sources of Truth
- Design for copy-paste
Universal, from the start

It’s a lot harder to add a mobile app later, than to build for web and app stores from the start.
Luckily, in Next.js web-apps, as well as iOS and Android apps with Expo, using react-native for the UI layer will keep your code mostly write-once.
No extra time wasted writing features twice or more, as 90% of react-native styles translate well to web. All it takes is to start with react-native’s View / Text / Image primitives. They’ll get transformed to HTML dom nodes on web.
Build for nuanced user preferences
Think about your users for a second. Now think about your own behaviour when interacting with software.
You likely prefer your phone for some apps. But when you’re at your desk in an office, it comes in handy to just type a url and continue from there.
Depending on the context, your potential users will also have a preference for web or mobile. That no longer matters when you build for all devices and platforms at no extra cost. Everyone is supported.
Capture on web, convert on mobile
For startups and ambitious founders, building a Universal App can be a huge competitive advantage.
When you do market research and see comments on a competitor’s social media asking for an Android / iOS / Web version, you can swoop right in. Meanwhile the competition likely still has to hire an entire other team to rebuild the app for whatever platform they’re missing. Being available on each platform also inspires trust, and trust is a major key to all sales.
With SEO you could even show up where users are already searching for a solution. It’s essentially free organic traffic. Customer acquisition costs when it comes to paid ads is also cheaper for web than mobile ads.
Why not show a quick interactive demo of the app right on your landing page? The urge to finish what’s been started might kick in, making it more likely they sign up web-first, and join those who prefer mobile later in finding and installing the app from the App Store.
On mobile, your app icon is now listed on their phone, taking up valuable screen real estate. A daily reminder your brand exists. Mobile also provides stronger notification systems to retarget users and keep them engaged. This is why, in the e-commerce space, mobile often drives more sales and conversions than web does.
Universal (Deep)links
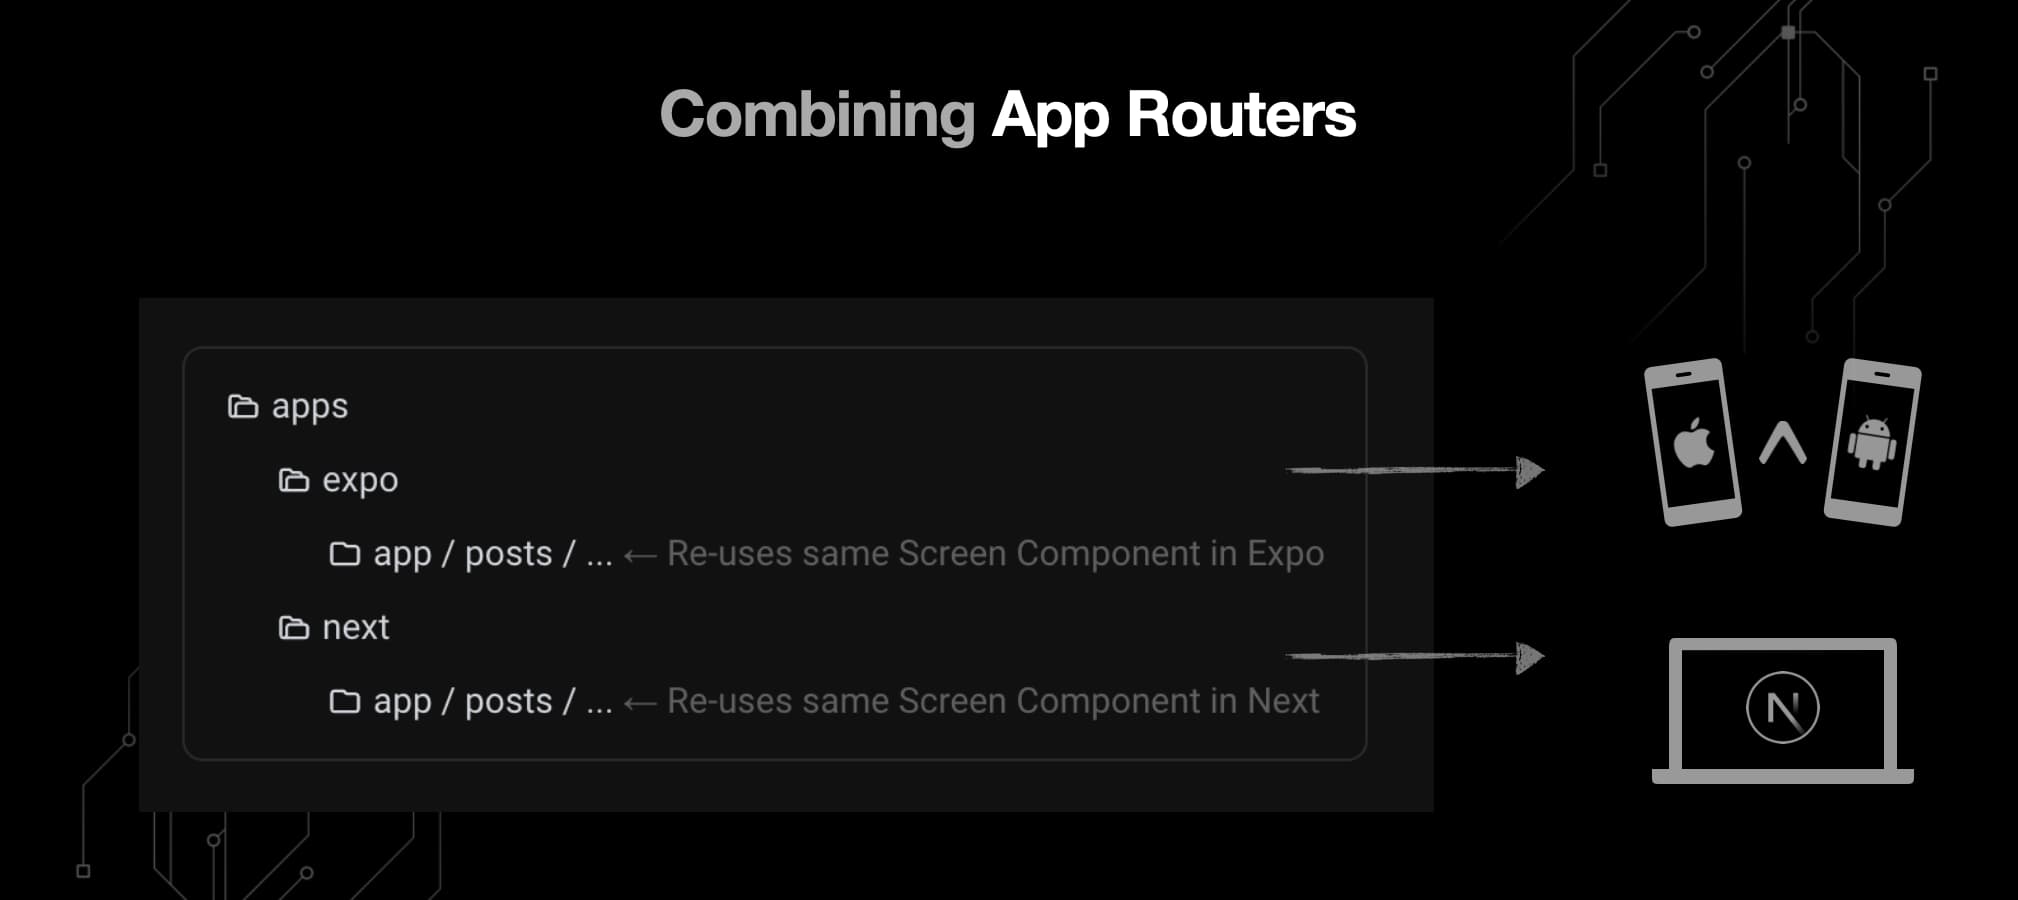
Our shared digital experience thrives on links. Expo-router is the first ever url based routing system for mobile. Deeplinking, where you set up your mobile app to open the right screen for specific URLs, happens automatically in Expo-router. When people share anything from the app or the web version, the links will just work. Whether they’ve installed the app or not.
Once users learn they can just share links, it turns existing users into ambassadors.
More with less

Even if you’re just freelancing or working as a digital product studio, you’ll be able to deliver the same app on multiple platforms. This can give you the advantage you need to win more clients. Or you could charge a premium for the same amount of work.
“Web vs. Native is dead. Web and Native is the future.”
- Evan Bacon, expo-router maintainer
The GREEN stack
Take what works, make it better
The best way to get really good and really fast at what you do, is to keep using the same tools for a longer period of time. That means not reinventing the wheel. For every new project. Again. And again. You want your way of working to be evergreen.
Expo + Next.js for best DX / UX
When building Universal Apps, the stack you choose should optimize for each device and platform you’re trying to target. This is the main reason why this starterkit / tech stack / way of working focuses entirely on Next.js and Expo.
These two meta frameworks are simply best in class when it comes to DX and UX optimizations for their target platforms. NextJS does all it can to set you up for success when it comes to essential SEO things like web-vitals.
Expo has made starting, building, testing, deploying, submitting and updating react-native apps just as easy. Apps made with Expo also result in actual native apps, which have the performance and responsiveness that comes with using platform primitives, because that’s what it renders under the hood.
React-Native for write-once UI
The dream of React has always been “write-once, use anywhere”. For now, react-native and react-native-web gets us 90% of the way there. In the future, things like react-strict-dom will likely bump that number up higher. Until then, pairing react-native with Nativewind or a full-blown universal styling system like Tamagui seems like the way to go.
Universal Data Fetching with GraphQL
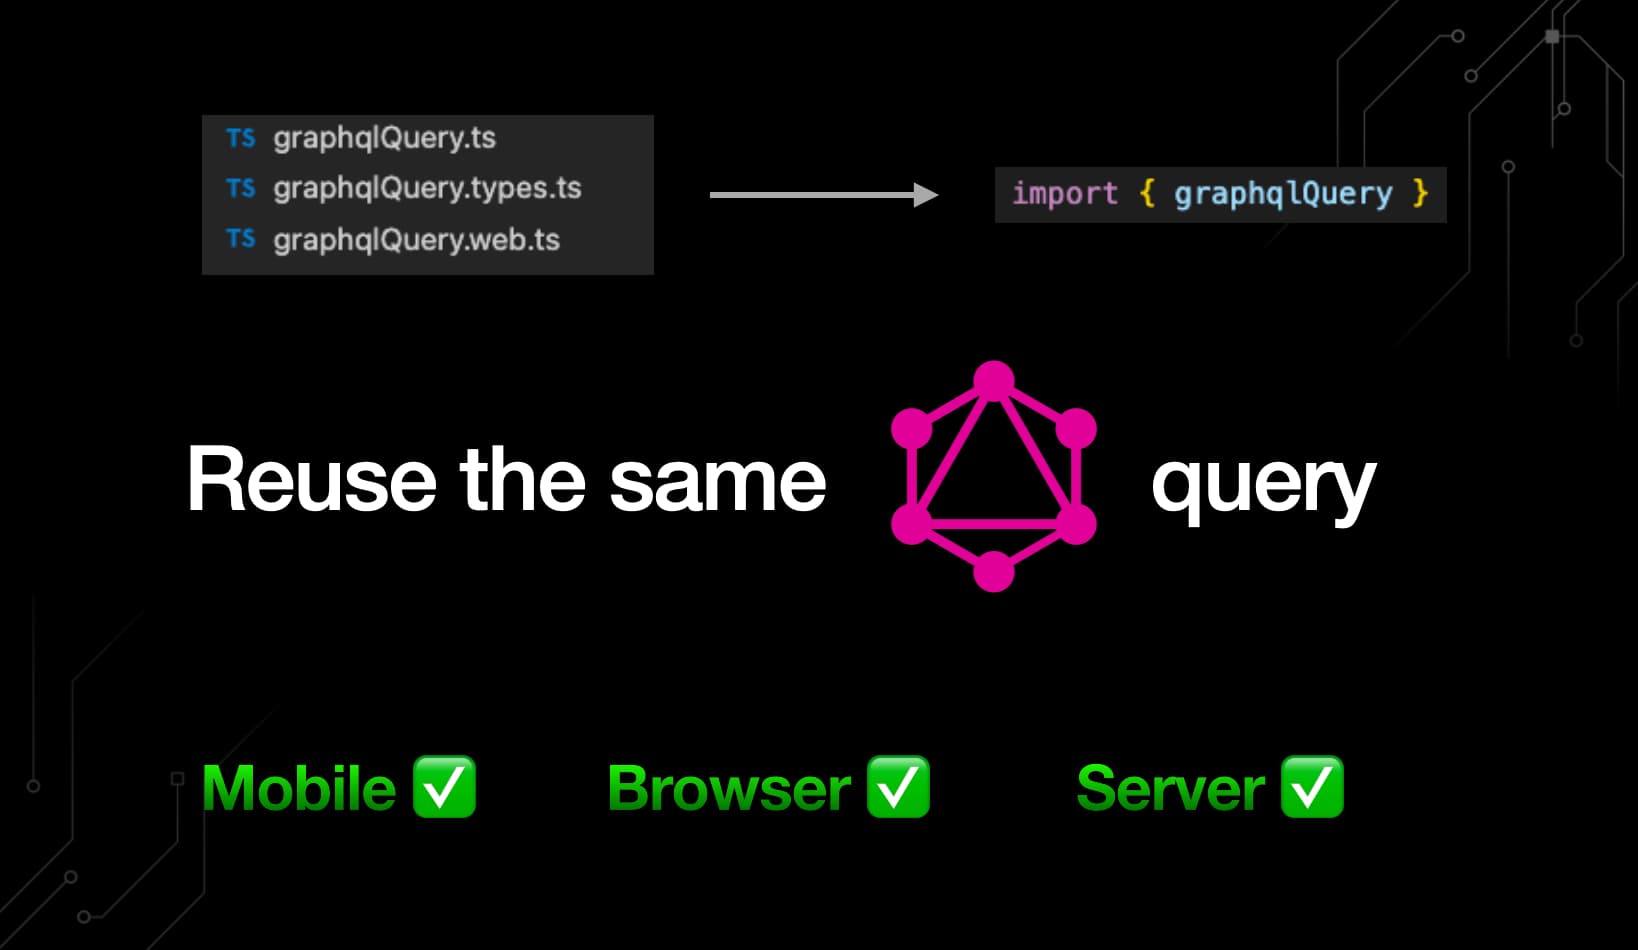
GraphQL’s ability to query data from the server, browser and mobile puts it in the unique position to service all three platforms. Paired with react-query for optimizing the caching of queries, and gql.tada 🪄 for auto inferring types from the schema + query definitions, integrated with a universal router, and you have a great universal initial data fetching solution. Type-safe end to end.
This doesn’t mean you only have GraphQL at your disposal. Resolvers in the GREEN stack are quite flexible. Designed so that porting them to tRPC (through a plugin) and/or Next.js API routes is quick and easy to do. From experience, we’re convinded GraphQL works best when used in an RPC manner. Instead of a REST-like graph you can explore each domain of your data with, we instead urge you to create resolvers in function of the UI they need data for.
To illustrate RPC-style queries in your mind, think of
getDashboardData()vs. having to call 3 separateOrders(),Products(),Transactions()type resolvers to achieve the same thing.
When used in this manner, quite similar to tRPC, it remains the best for initial data-fetching. Though mutating data might be better served as a tRPC call or API route POST / PUT / DELETE request.
To avoid footguns, the starterkit provides a way of working that can automate a bunch of the hard stuff when it comes to doing GraphQL, or data resolvers in general, the right way.
This includes things like:
- auto-generating the entire schema from Zod definitions
- auto-generating fetcher functions and
react-queryhooks from Zod definitions - keeping schema definitions a 1 on 1 match with your RPC / “command-like” resolver functions
- universal
graphqlRequest()util to auto infer types from Zod input & output schemas - … or using gql.tada for type hints / infers when only requesting specific fields.
Tech that’s here to stay.
To bring it all together, you could say the GREEN stack stands for:
- ✅ GraphQL
- ✅ React-Native
- ✅ Expo
- ✅ Next.js.
The second “E” is in there because Expo, with it’s drive to bring react-native to web, is doing double the lifting.
…but in reality, the main goal of this stack is simply to stay ‘Evergreen’
These core technologies and the ecosystems around them create a stack that’s full-featured yet flexible where needed. Other included essentials like Typescript, Tailwind and Zod, have gained enough popularity, adoption, frequent funding and community support they’re just as likely to be around for a long time.
It’s a stack you can stick, evolve and perfect your craft with for a longer period of time.
Single Sources of Truth

Think of all the places you may need to (re)define the shape of data.
- ✅ Types
- ✅ Validation
- ✅ DB models
- ✅ API inputs & outputs
- ✅ Form state
- ✅ Documentation
- ✅ Mock & test data
- ✅ GraphQL schema defs
Quite an extensive list for what is essentially describing the same data.
Ideally, you could define the shape of your data just once, and have it be transformed to these other formats where necessary:
A strong toolkit around Zod schemas
Schema validation libraries like zod are actually uniquely positioned to serve as the base of transforming to other formats. Zod even has the design goal to be as compatible with Typescript as possible. There’s almost nothing you can define in TS that you can’t with Zod. Which is why you can infer super accurate types from your Zod schemas.
With the hardest 2 of 8 data definition scenario’s tackled, the starterkit comes with utils that help convert Zod schemas to the others mentioned above:
- createDataBridge() - Combines zod input & output schemas for type-safe API bridges
- createResolver() - Bind a zod bridge to a promise into a portable data resolver
- createNextRouteHandler() - Transform your zod-powered resolver into a Next.js API route
- createGraphResolver() - Transform your zod-powered resolver into a GraphQL Mutation or Query
- createGraphSchemaDefs() - Auto generate the GraphQL SDL statements for your schema.graphql
- bridgedFetcher() - Transform a zod bridge into a typed GraphQL fetcher
- createQueryBridge() - Use a typed (GraphQL) fetcher to query initial daya for universal routes
- getDocumentationProps() - Combine zod prop defs with a React component for autogenerated docs
Zod for Automatic docs

Writing documentation is essential, but often requires time teams feel they don’t have.
Any successfull project will eventually need documentation though. Especially if you want others to build on top of your work.
Once it’s time to scale up the team, you’ll definitely want them. Ideally, you can onboard new devs rather quickly so they can add value sooner. Good docs reduce how much mentoring new people need from your senior developers.
However, as a new or scaling startup, both docs and onboarding are not necessarily the thing you want to “lose” time on. Which is why, at least at the start:
“Sometimes, the best docs are the ones you don’t have to write yourself.”
— Founders that value their time
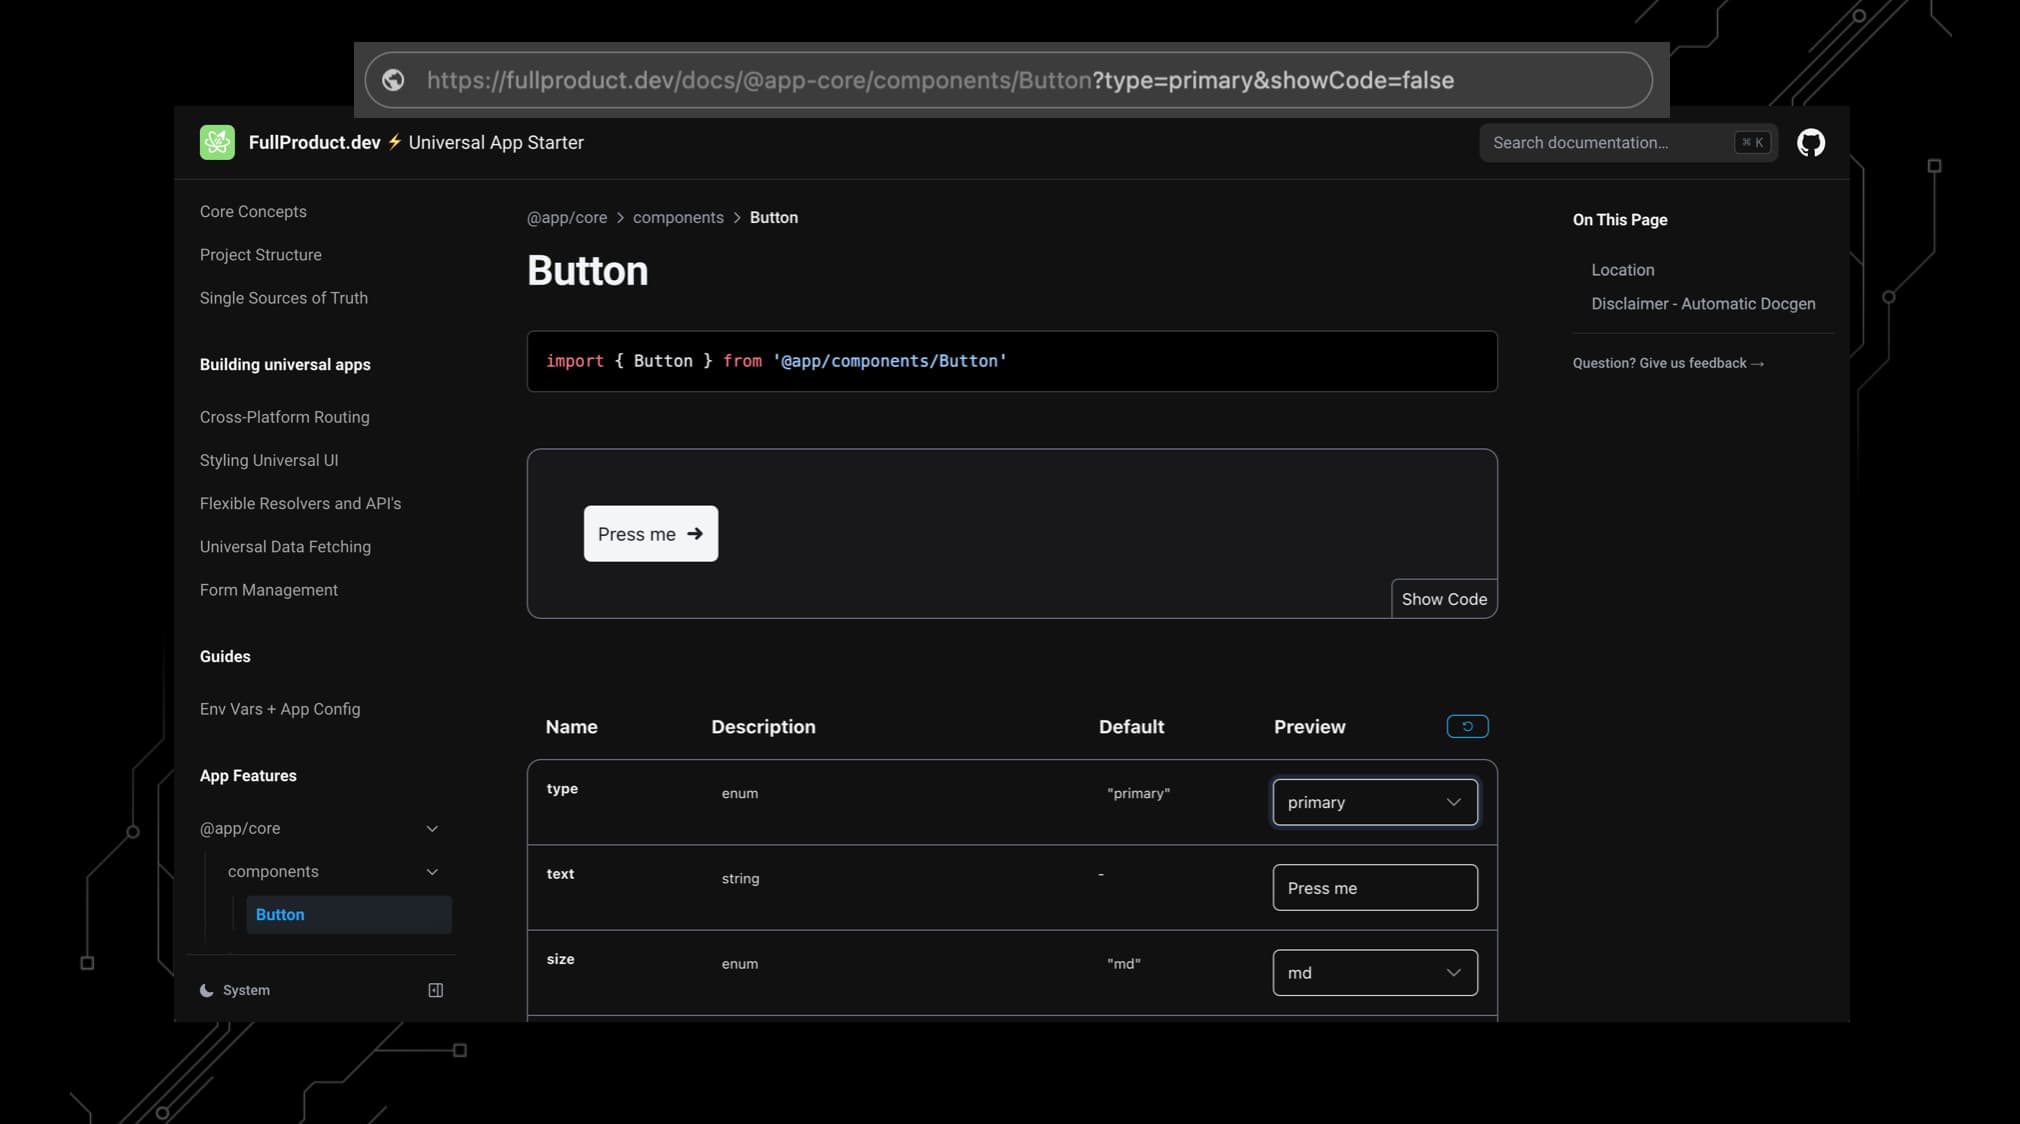
This is where MDX and Zod schemas as single sources of truth are a great match. Using the Starterkit’s with/automatic-docgen plugin, your components and API’s will document themselves.
How? By reading the example & default values of a component’s Zod prop schema and generating an MDX file from it. The file will then render the component and provide a table with prop names, descriptions, nullability and interactive controls you can preview the different props with.
Check out a live example for the Button component in action:
You can think of it like a component Storybook where you could build components in isolation on the docs page. Except these docs automatically grow with your project as a result of your way of working.
More about this pattern in the Single Sources of Truth and Automations docs.
Design features for copy-paste
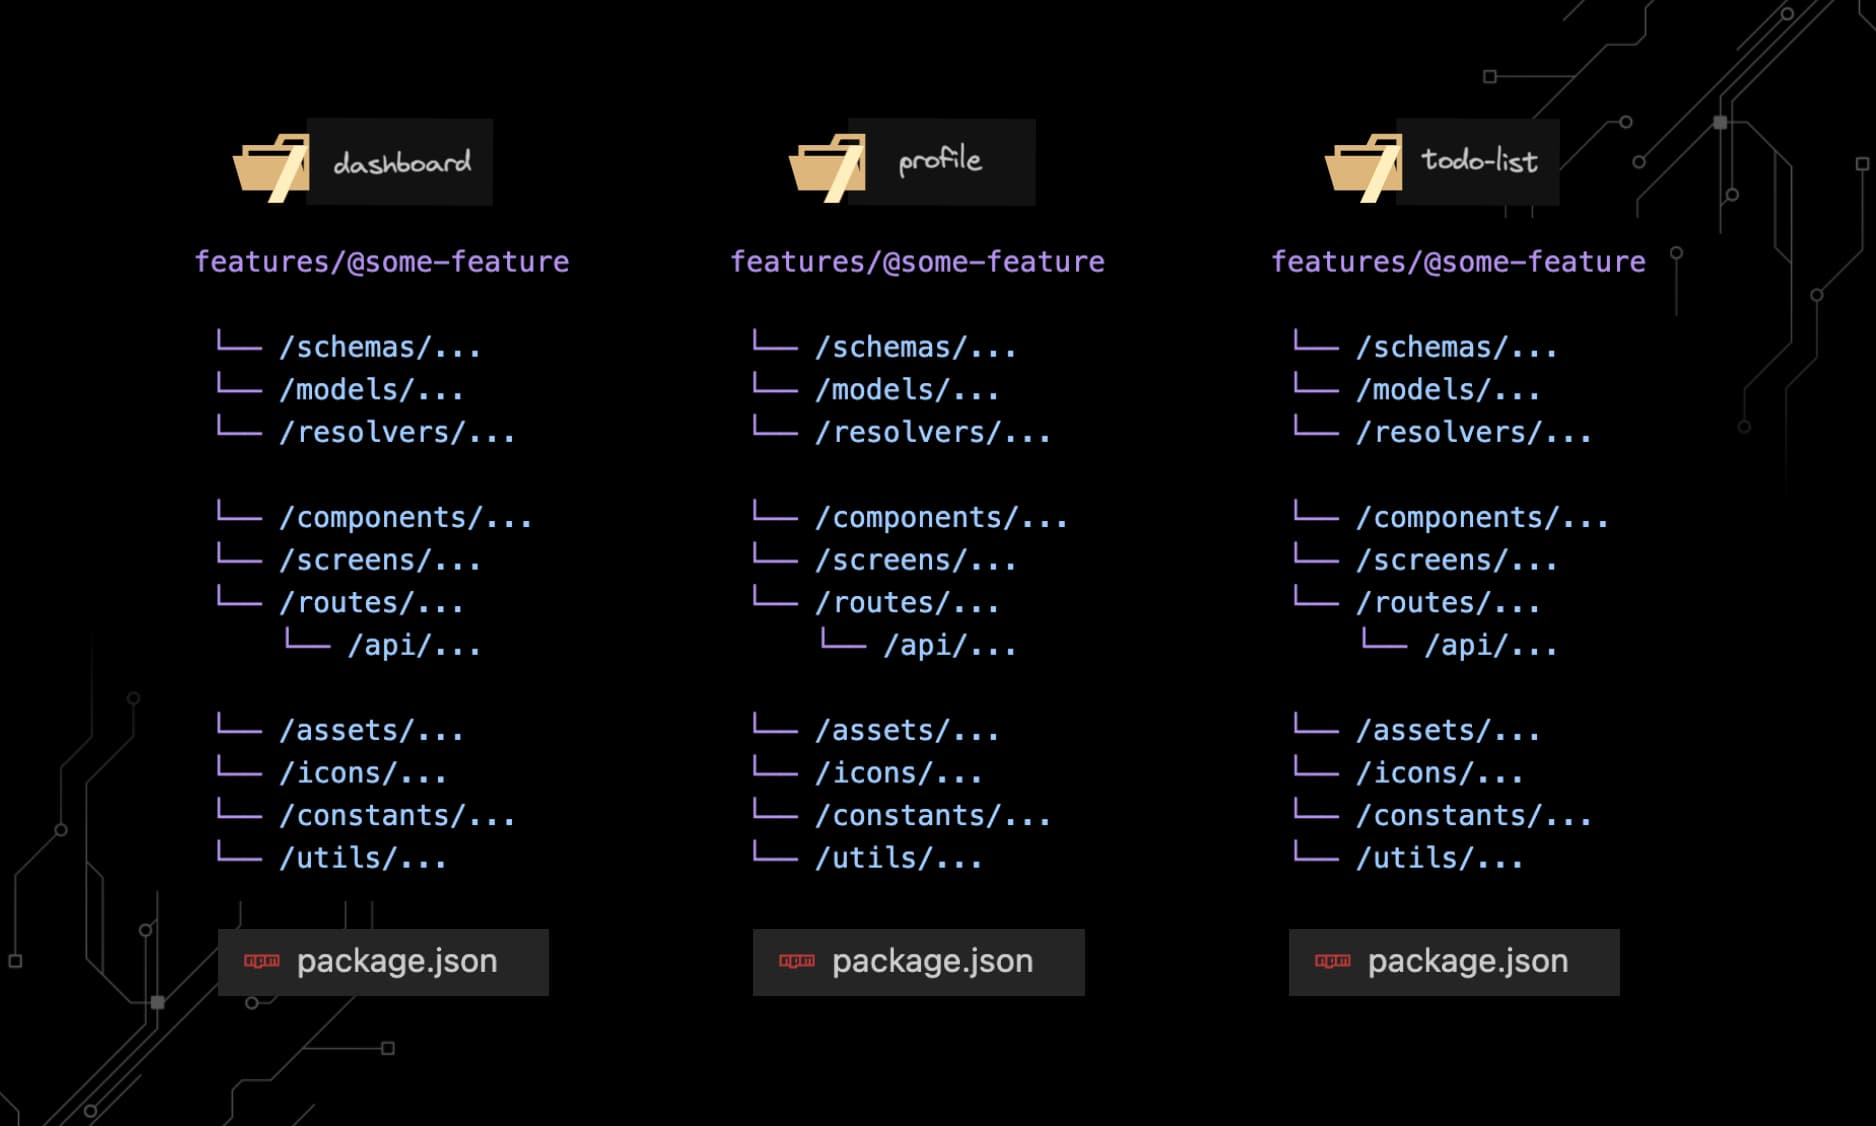
What tools like Tailwind and Shad-CN enabled for copy-pasting components, we aim to replicate for entire features and domains.
That includes the UI, hooks, logic, resolvers, API’s, zod schemas, db models, fetchers, utils and more.
Portable Workspace Folder Structure
While individual utils, components and styles can be quite easy to reuse across projects these days, entire features are harder to port from one project to another. It’s because most project structures don’t lean themselves to copy-pasting a single folder between projects in order to reuse a feature.
This often stems from grouping on the wrong level, such as a front-end vs. back-end split.
It does become possible once you start grouping code together on the feature or domain level, as a reusable workspace:
features/@some-feature

 └── /schemas/... # <- Single sources of truth
 └── /models/... # <- Reuses schemas
 └── /resolvers/... # <- Reuses models & schemas

 └── /components/...
 └── /screens/... # <- Reuses components
 └── /routes/... # <- Reuses screens
     └── /api/... # <- Reuses resolvers

 └── /assets/...
 └── /icons/... # <- e.g. svg components
 └── /constants/...
 └── /utils/...
Each folder that follows this structure should have its own package.json file to define the package name and dependencies. This way, you can easily copy-paste a feature or domain from one project to another, and NPM will have it work out of the box.
Here’s what this might look like in the full project.
Don’t hesitate to open the /apps/, /features/ or /packages/ folders:
Git based plugins you can learn from
“The best way to learn a new codebase is in the Pull Requests.” - Theo Browne, @t3dotgg
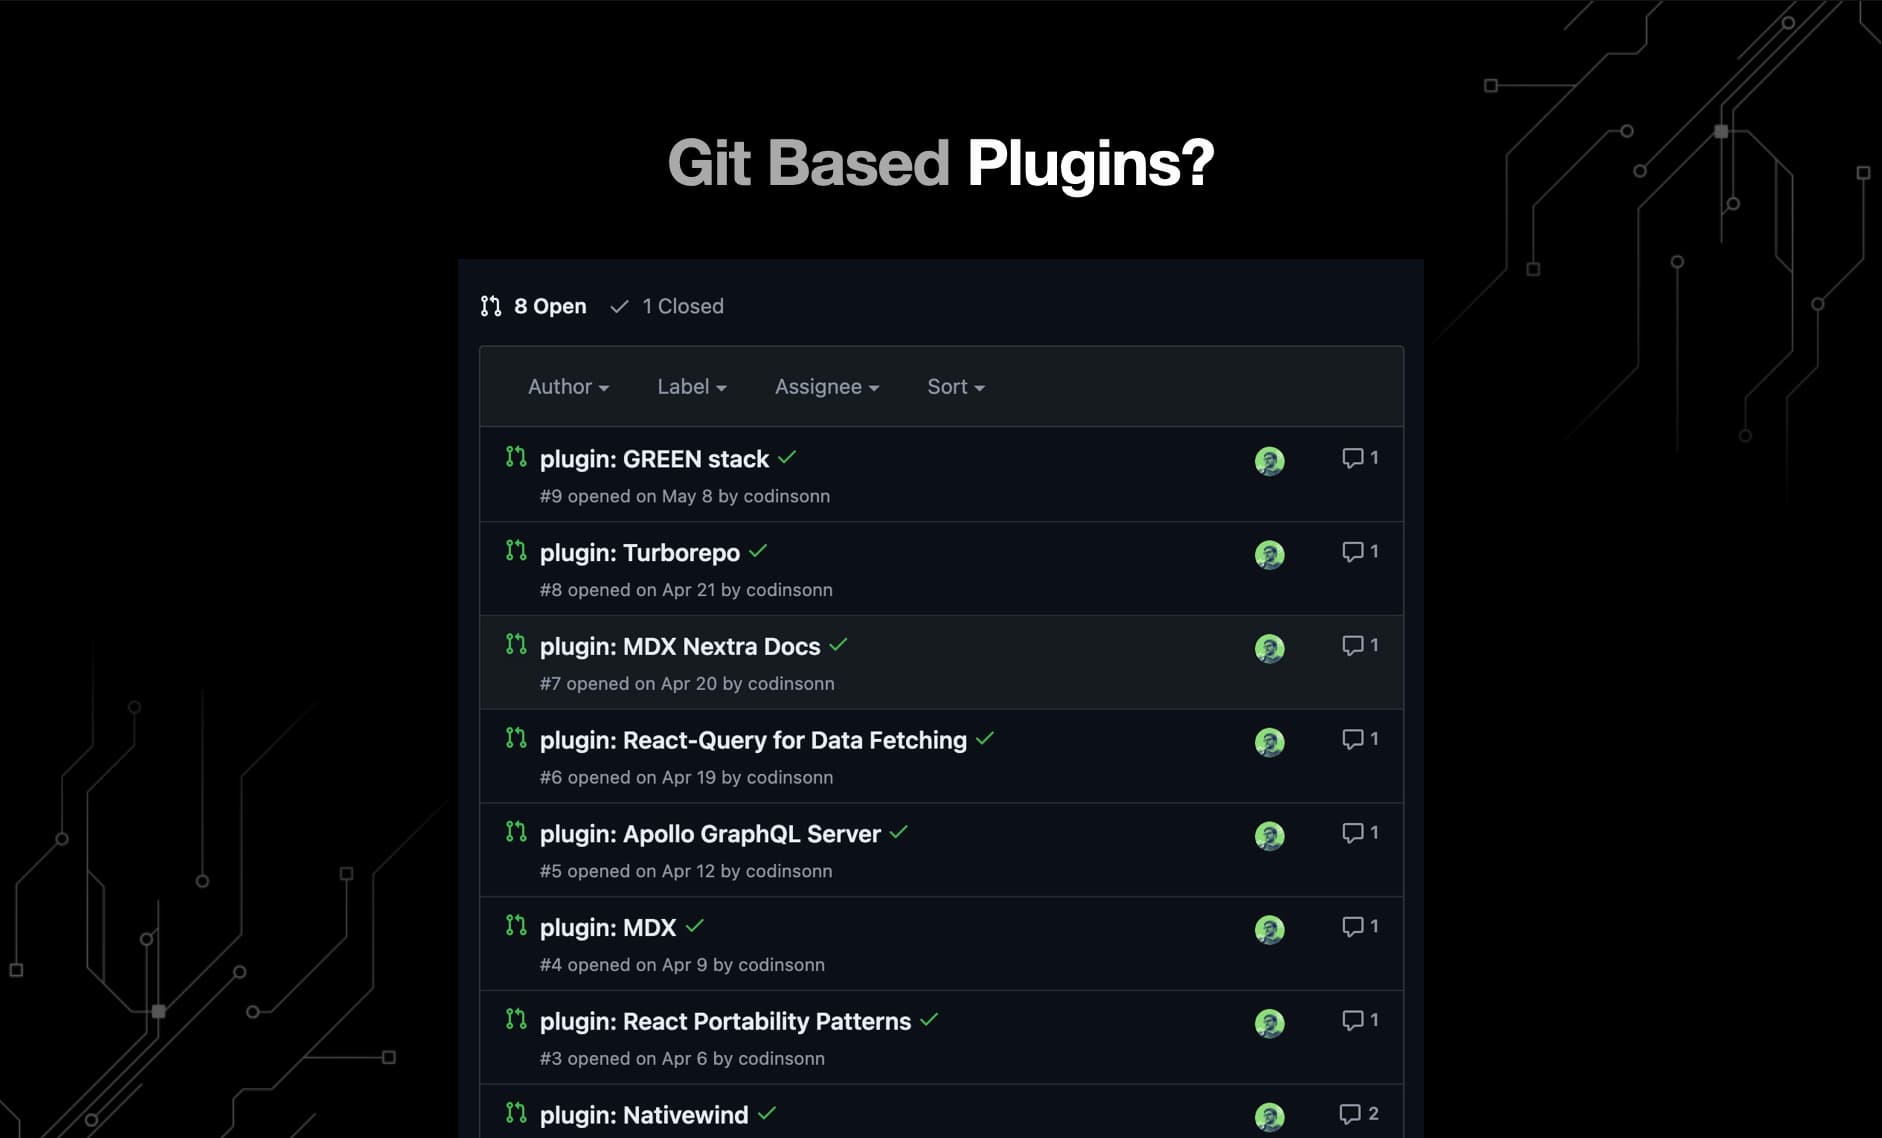
The best plugin system is one that’s close to a workflow you’re already used to.
Github PR’s and git branches are typically better for a number of reasons:
- ✅ Inspectable diff you can review with a team
- ✅ Able to check out and test first
- ✅ Optionally, add your own edits before merging
Finally, PR based plugins solve common issues with other templates:
- ✅ Pick and choose your own preferred tech stack
Workspace Drivers - Pick your own DB / Auth / Payments / …
Drivers are a way to abstract away the specific implementation of e.g. your specific database, storage or authentication system. This allows you to switch between different implementations without changing the rest of your code.
Typically, drivers are class based, and often back-end only. However, we’ve found a different way of providing a familiar interface, while still providing a familiar way of working that works across front and back-end lines.
The key is defining drivers as workspace packages:
// Instead of using specific imports from a package...
import { signIn } from '@clerk/clerk-expo'
⬇⬇⬇
// You can (optionally) import and use a familiar API from a driver workspace:
import { signIn } from '@auth/driver'

// OR, when mixing solutions, import from multiple drivers:
import { users } from '@db/mongoose' // <- e.g. User data saved in mongo
import { settings } from '@db/airtable' // <- e.g. Configuration saved in Airtable
You can have multiple drivers merged, or “installed”, but you should pick the main one in appConfig.ts:
export const appConfig = {

    // Here's how you'd set the main driver to be used:
    drivers: createDriverConfig({
        db: DRIVER_OPTIONS.db.mockDB, // -> use as '@db/driver'
        auth: DRIVER_OPTIONS.auth.clerk // -> @auth/driver
        mail: DRIVER_OPTIONS.email.resend // -> @mail/driver
    }),

} as const
Combining multiple drivers for the same solution can be a good idea if e.g.:
- Specific types of data lend themselves better to a different provider
- You’re migrating from one provider to another
However, if you do, you should always pick a main one to make sure e.g. @db/driver corresponds to the main solution used.
Drivers are fully optional, just like most of the suggested ways of working.
You won’t experience any issues if you don’t use them.
However, you might find it more difficult to keep features / domains / workspaces easily copy-pasteable without using these kinds of abstractions.
Drivers and plugins within the starterkit’s Way of Working have been designed to:
- Use
Zodfor validating familiar API across implementations/options - Use
Zodfor providing both types and schemas for said plugin - Help keep features as copy-pasteable as possible
Maximizing time saved
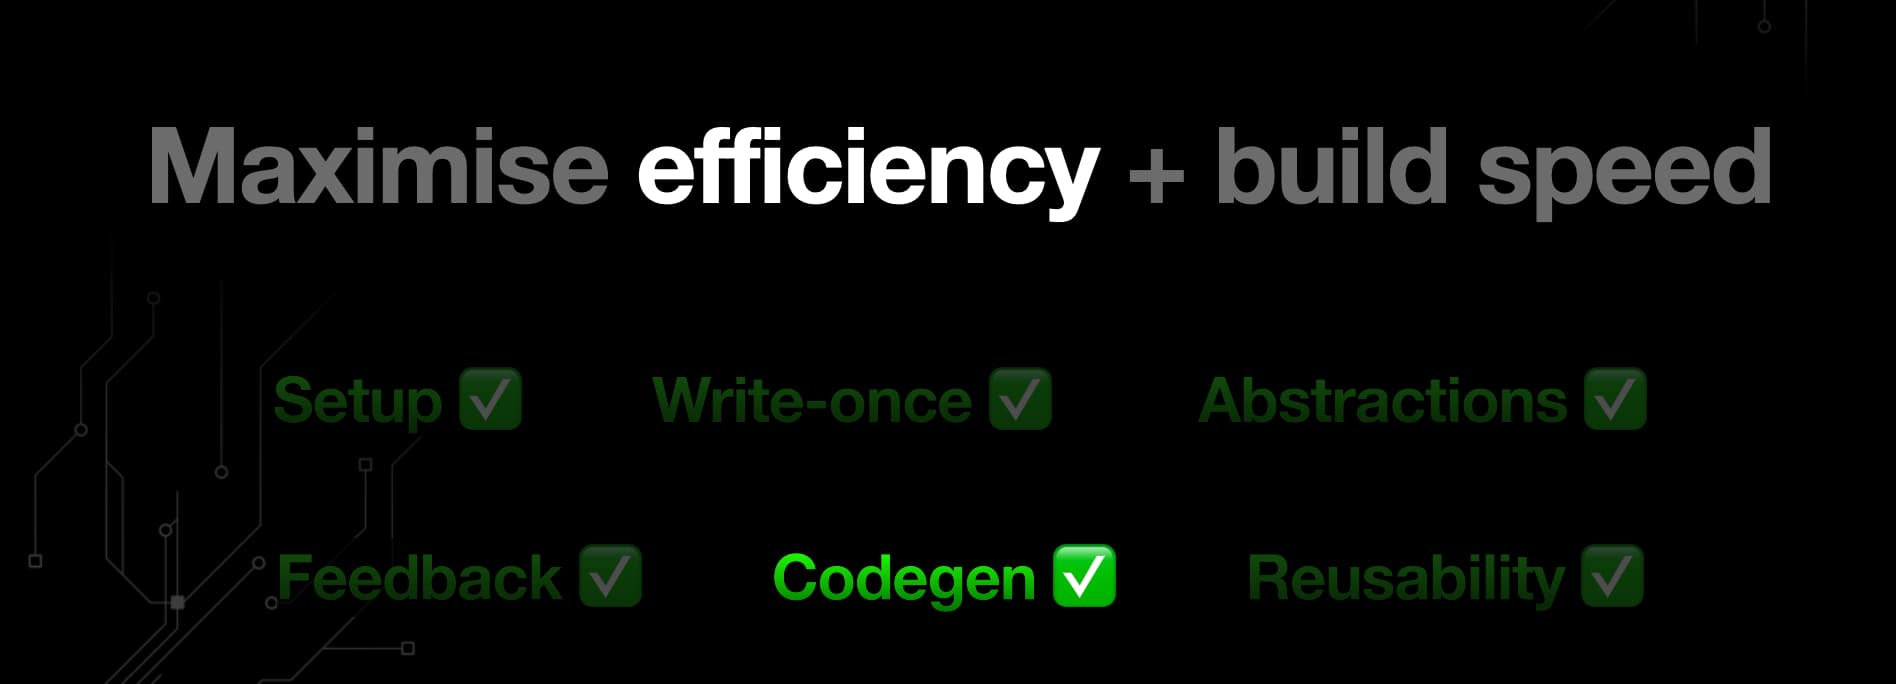
The big difference between a weekend boilerplate and a value adding starterkit is how far it goes to save you time.
Boilerplates:
- typically only provide a better starting point.
- might save you weeks of setup, sure, but afterwards they rarely do much for you.
- not always aimed at experienced developers (types and scalable architecture)
- might end up still changing a bunch / wasting time
There are more ways to save time as a developer though. To recap our core concepts:
- ✅ Starting universally, building mostly write-once for each platform saves time later on and retains your ability to do fast iterations while also serving way more users.
- ✅ Keeping features copy-pasteable and portable between projects.
- ✅ Recommended way of working that also saves time. By encouraging you to define data shapes once, transform them to other formats where necessary, and providing a toolkit around them.
- ✅ Generators to quickly scaffold out new schemas, models, resolvers, forms, fetchers, components, hooks, screens, routes from CLI.
Generators to skip boilerplate
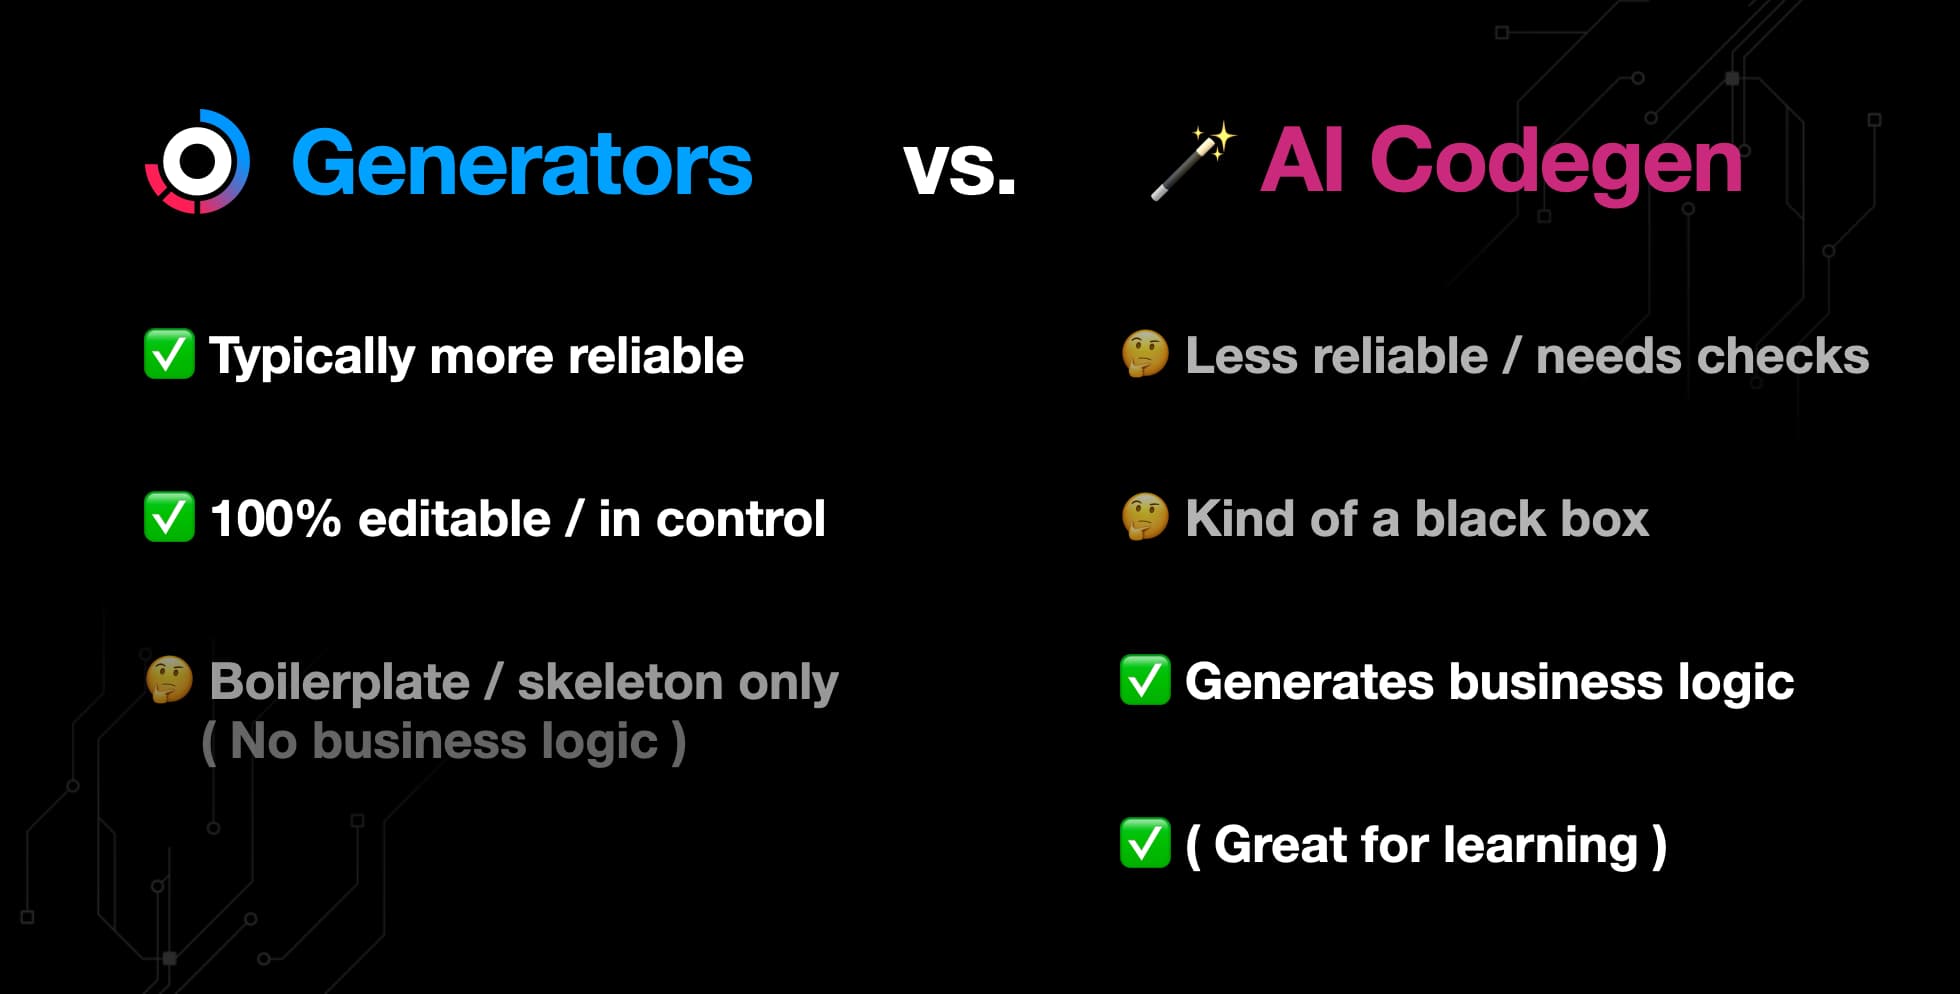
This zod-based way of working, combined with the predictability of file-system based routing, can lead to some huge time saved when you automate the repetitive parts.
The starterkit comes with a number of generators that can help you skip the repetitive boilerplate code and manual linking of files and objects when creating new features:
npx turbo gen add-dependencies- Add Expo SDK compatible dependencies to a workspacesnpx turbo gen workspace- Add a new feature or package workspace folder to the projectnpx turbo gen schema- Add a new Zod schema to serve as single source of truth-npx turbo gen model- Add a new DB model to the project based on a Zod schemanpx turbo gen resolver- GraphQL resolver and API route based on Zod input and outputnpx turbo gen form- Create form hooks for a specific schema in your workspacesnpx turbo gen route- New universal route + screen, and integrate with a resolver-npx turbo gen domain- Likegen workspaceon steroids, full domain with all the above
AI — Codegen +
Using generators can be a safe way to quickly set-up the boilerplate and linking, and you could have AI fill in the blanks of the business logic.
Though, ofcourse, you will need to understand and double check whatever the AI generates for you. If you do, combining old-school generators with tools like Cursor or GitHub Copilot can be a great way to further maximize speed.
FullProduct.dev will soon add prompts and rulesets to help you build out features with our way of working.
Start scalable, without the effort
With these core-concepts combined, we believe we can provide Typescript and React devs with a really powerful way of working that is at all times:
- ✅ Opinionated yet flexible
- ✅ Built for maximum code reuse
- ✅ Universal, write-once, reach any device
- ✅ Helping you easily onboard and scale up the team
- ✅ A huge time-saver at both the start and during the project
All without having to spend the time figuring it all out yourself.
If you’re ready to dive deeper into these topics, check out the rest of the docs.
